Calibration Sources / Transfer Standard Pyrometers
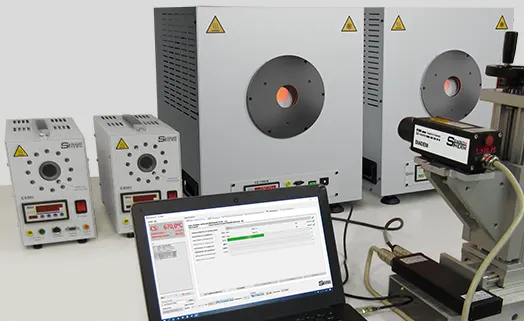
Calibration sources, also called blackbody calibration sources, provide stable temperatures to verify the functionality and accuracy of pyrometers, thermal imaging cameras and other devices for non-contact radiation measurement.
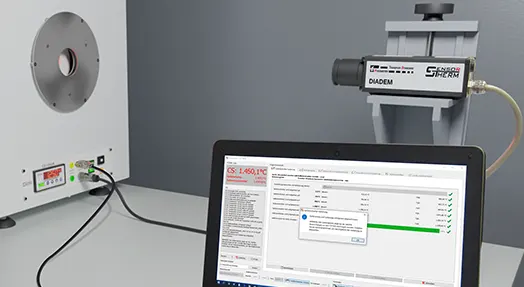
With our calibration systems, calibration sources and pyrometers are automatically calibrated and adjusted.
Transfer Standard Pyrometers are highly accurate and long-term stable pyrometers that are traced back to the international temperature scale ITS-90. With them, calibration sources are checked for their accuracy and readjusted if necessary, pyrometers are also checked for their accuracy using comparative measurements and also readjusted if necessary.

- Fast heating-up times
- Very stable temperatures
- High emissivity of the cavity surface
CS1500N calibration source
- Temperature range: 50 - 1500°C
- Aperture: 40 mm
CS500N calibration source
- Temperature range: 25 - 500°C
- Aperture: 30 mm
Transfer Standard Pyrometer DIADEM
- Display resolution 0.01°
- Measurement uncertainty only 0.15% of the measured value + 1K
DIADEM Transfer Standard Pyrometers are also used in-house, e.g. for our calibration and adjustment service.
Software-Controlled Calibration and Adjustment with Calibration Systems
Our calibration sources can be used to verify infrared measuring devices from all manufacturers. However, the full potential is achieved in conjunction with Sensortherm devices:
Pyrometer and PC can be connected to the calibration source and controlled via this. The result is a complete calibration and alignment system for both pyrometers and for the calibration source itself.
SensorCal3 Software
- Kalibrierstrahler und METIS-Pyrometer nach langer Laufzeit einfach selber nachjustieren
- Create calibration certificates for calibration sources and METIS pyrometers
Quick Check of Pyrometers
Der portable Temperaturstrahler HE1200N ist ein unübertroffen schnell aufgeheizter sehr kleiner Temperaturstrahler. In nur 3 Minuten ist er auf bis zu 1200°C aufgeheizt und erlaubt es z.B. Pyrometer direkt an der Ofenanlage zu überprüfen oder ermöglicht es, bei Messungen durch Fenster oder Linsen die optischen Verluste zu ermitteln. Auch bei der Einkopplung des Pyrometers in eine Laser-Bearbeitungsoptik ist das Pyrometer schnell an die dort anzutreffenden Verluste angepasst.
Temperaturstrahler HE1200N
- Up to 1200°C in 3 minutes
- Optical losses determined quickly when taking measurements through windows or lenses


